How to Make Your Own Red Caviar: A Step-by-Step Guide

How to Make Your Own Red Caviar: A Step-by-Step Guide
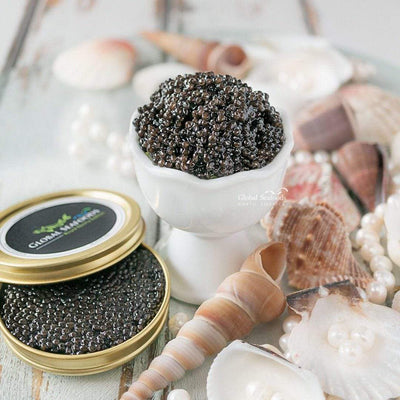
Red caviar, a staple of gourmet cuisine, is a delicacy known for its distinctive flavor, vibrant color, and iconic "pop" texture. While red caviar, often sourced from salmon and trout, can be easily purchased, making it yourself from fresh roe can offer a unique and rewarding culinary experience. In this detailed guide, we'll take you through each step of the process, from selecting the freshest roe to curing it for perfect flavor.
For seafood enthusiasts and home cooks, the ability to prepare your own caviar can not only save money but also allow for a greater appreciation of this luxurious food. Follow along as we guide you through the process of creating homemade red caviar that rivals the finest varieties available at Global Seafoods.
What Is Red Caviar?
Red caviar, also known as salmon roe, comes from several species of fish, including Chum, Coho, Pink Salmon, and Rainbow Trout. The roe is harvested from female fish and then cured with salt to create the delicate and briny pearls we recognize as caviar. Unlike the more expensive black caviar from sturgeon, red caviar is a more accessible delicacy, but its quality still depends heavily on how it is prepared.
Why Make Your Own Red Caviar?
Homemade red caviar offers several benefits:
- Cost-Effective: Purchasing fresh roe and curing it yourself can be more affordable than buying pre-made caviar.
- Customization: You can control the salinity and flavor profile of the caviar, adjusting it to your preferences.
- Freshness: Homemade caviar ensures maximum freshness, giving you the best texture and taste possible.
As legendary chef Ferran Adrià once said, "Cooking is a constant evolution." Making your own red caviar at home gives you the freedom to experiment and personalize one of the world's most beloved gourmet foods.
Ingredients and Equipment You'll Need
Before getting started, gather the necessary ingredients and equipment. For this recipe, you'll need:
Ingredients:
- Fresh salmon or trout roe: Ideally sourced from a reputable seafood market or caught fresh if you have access. For ready-to-use options, Global Seafoods offers premium Trout Red Caviar and Chum Salmon Caviar.
- Sea salt: Fine sea salt works best for evenly curing the roe.
- Filtered water: To rinse and prepare the roe.
- Optional: A small amount of sugar to balance the saltiness.
Equipment:
- Fine-mesh strainer: To drain the roe after rinsing.
- Sharp knife: For carefully opening the fish to extract the roe sacs.
- Mixing bowls: To rinse, cure, and store the caviar.
- Cheesecloth: To strain the roe if necessary.
- Glass jars: For storing the cured caviar.
Step 1: Selecting the Right Roe
The key to great caviar starts with the quality of the roe. Salmon and trout roe are most commonly used for red caviar, but the freshness of the eggs is crucial to the final product. Look for roe that is bright, firm, and smells fresh, like the sea. It's essential to avoid any roe that has a strong fishy odor or appears cloudy, as this may indicate spoilage.
For an excellent selection of premium roe, check out the Chum Salmon Caviar and Rainbow Trout Pearls from Global Seafoods.
Step 2: Extracting the Roe
If you are starting with whole fish, you will need to carefully remove the roe sacs. Using a sharp knife, make a shallow cut along the belly of the fish, taking care not to pierce the sacs. Gently remove the roe, and place it into a bowl of cold, filtered water. This helps to rinse away any blood or membrane that may have attached to the roe during the extraction process.
If you're purchasing pre-harvested roe, such as the high-quality Salmon Caviar from Global Seafoods, this step can be skipped as the roe will already be prepped for curing.
Step 3: Rinsing the Roe
Once you've extracted the roe, it's essential to rinse it thoroughly. Place the roe in a fine-mesh strainer and run it under cold, filtered water. Gently use your fingers to separate the eggs and remove any remaining bits of membrane. Handle the roe delicately to avoid crushing the eggs.
For an additional layer of quality control, some caviar enthusiasts recommend soaking the roe in cold brine for a few minutes, which further purifies the eggs without compromising their texture.
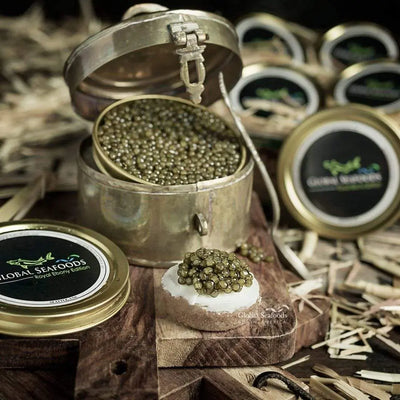
Step 4: Curing the Roe
Curing is the most crucial step in the caviar-making process. This involves salting the roe to preserve it and enhance its flavor. The salt not only preserves the eggs but also helps to firm up their texture, giving them that satisfying “pop” when eaten.
Salting Process:
- In a bowl, dissolve about 3-4 tablespoons of fine sea salt in one quart of cold filtered water.
- Submerge the cleaned roe in this saltwater brine for 5-10 minutes, depending on your desired level of salinity. For a less salty flavor, you can reduce the time, while a longer brine will result in a saltier caviar.
- Once the roe has brined, pour the mixture through a strainer and rinse the eggs under cold water to remove excess salt.
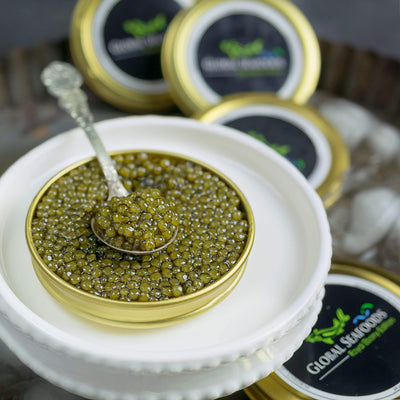
Step 5: Draining and Storing the Caviar
After rinsing, gently shake the strainer to remove excess water, but be careful not to damage the delicate eggs. You can place the roe on a paper towel or cheesecloth to absorb any remaining moisture.
Storing Your Homemade Caviar:
- Transfer the cured caviar to a clean glass jar, preferably one with an airtight seal.
- Store the jar in the coldest part of your refrigerator, ideally between 28°F and 32°F.
- Homemade caviar should be consumed within 3-5 days for the best flavor and texture. If you're not ready to eat it immediately, you can freeze the caviar for up to two months, although freezing can slightly alter the texture.
For ready-made caviar that is properly preserved, Global Seafoods offers a wide range of premium options, such as Coho Salmon Caviar and Golden Pearls Brook Trout Caviar.
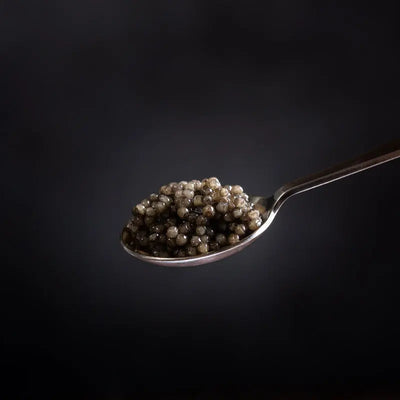
Step 6: Serving Your Homemade Red Caviar
Once your caviar is cured and ready, it's time to serve it. There are countless ways to enjoy red caviar, from simple toasts to more elaborate dishes. Here are a few serving ideas to inspire your culinary creativity:
Classic Pairing:
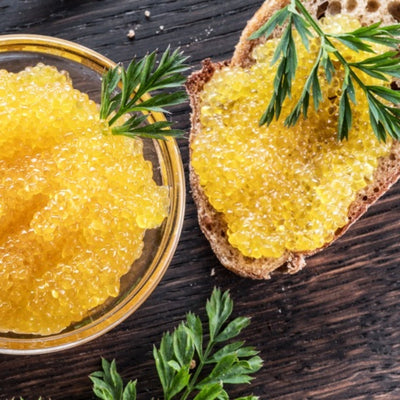
Serve your homemade caviar on blinis or toast points with a dollop of crème fraîche and a squeeze of lemon.
Gourmet Add-On:
Top oysters or scallops with a spoonful of caviar for an extra burst of flavor. The briny caviar enhances the natural sweetness of shellfish.
Fusion Cuisine:
Incorporate your homemade red caviar into sushi rolls or poke bowls to add an extra layer of luxury to these modern dishes.
For more serving ideas, check out the Global Seafoods YouTube Channel, where you'll find creative seafood recipes and tips on how to serve red caviar like a pro.
FAQs: Making Red Caviar at Home
1. What is the best type of roe to use for homemade red caviar?
Salmon and trout roe are the most common types of roe used for red caviar. For top-quality roe, consider the selections from Global Seafoods, such as Trout Red Caviar or Pink Salmon Caviar.
2. How long does homemade red caviar last?
Homemade red caviar should be consumed within 3-5 days if stored properly in the refrigerator. You can freeze it for up to two months, but freezing may alter the texture slightly.
3. Can I adjust the saltiness of my homemade caviar?
Yes! The length of time you brine the roe will determine its saltiness. A shorter brine time results in a milder flavor, while a longer cure makes for saltier caviar.
4. Is it difficult to make red caviar at home?
Making red caviar at home is a straightforward process, but it requires attention to detail and careful handling of the roe. With the right ingredients and tools, it can be a rewarding and delicious DIY project.
5. What are the best ways to serve red caviar?
Red caviar is versatile and can be served on blinis, toast, sushi, or even atop oysters. Its briny flavor pairs well with creamy elements like crème fraîche or soft cheeses.
6. What should I avoid when making red caviar?
Avoid using iodized salt, as it can impart an unpleasant flavor. Always use fine sea salt for curing the roe, and be gentle when handling the eggs to avoid crushing them.
By following this step-by-step guide, you can create delicious, fresh red caviar at home. For more premium seafood products and culinary inspiration, visit Global Seafoods or explore the many varieties of caviar available in their collection, including the unique Bloody Shiraz Infused Caviar.


Related Products


Also in Recipes

How to Cook Live Manila Clams at Home: Fresh, Sweet & Delivered Overnight
Discover how to store, clean, and cook Live Manila Clams at home using simple chef techniques. Learn why these Pacific clams are perfect for pasta vongole, steaming, chowders, and more—plus how to order them fresh in a convenient 10 lb bag shipped overnight.

Cooked Crab for Brunch: The Ultimate Guide to Morning Seafood
Discover the joy of Steamed crab for brunch! Learn how to prepare seafood in the morning, its health benefits, and recipes to make your brunch memorable.

The Fresh Crab and Sustainable Fishing: Snow Crab’s Role in Responsible Seafood
Explore how snow crab contributes to sustainable fishing. Learn about eco-friendly sourcing, recipes, and the importance of responsible seafood practices.